
Behind the Scenes.
Managing Interior Installations for Photography-Ready Spaces. A Step-by-Step Journey of a Residential Interior Design Project at The Whiteley, Bayswater, London
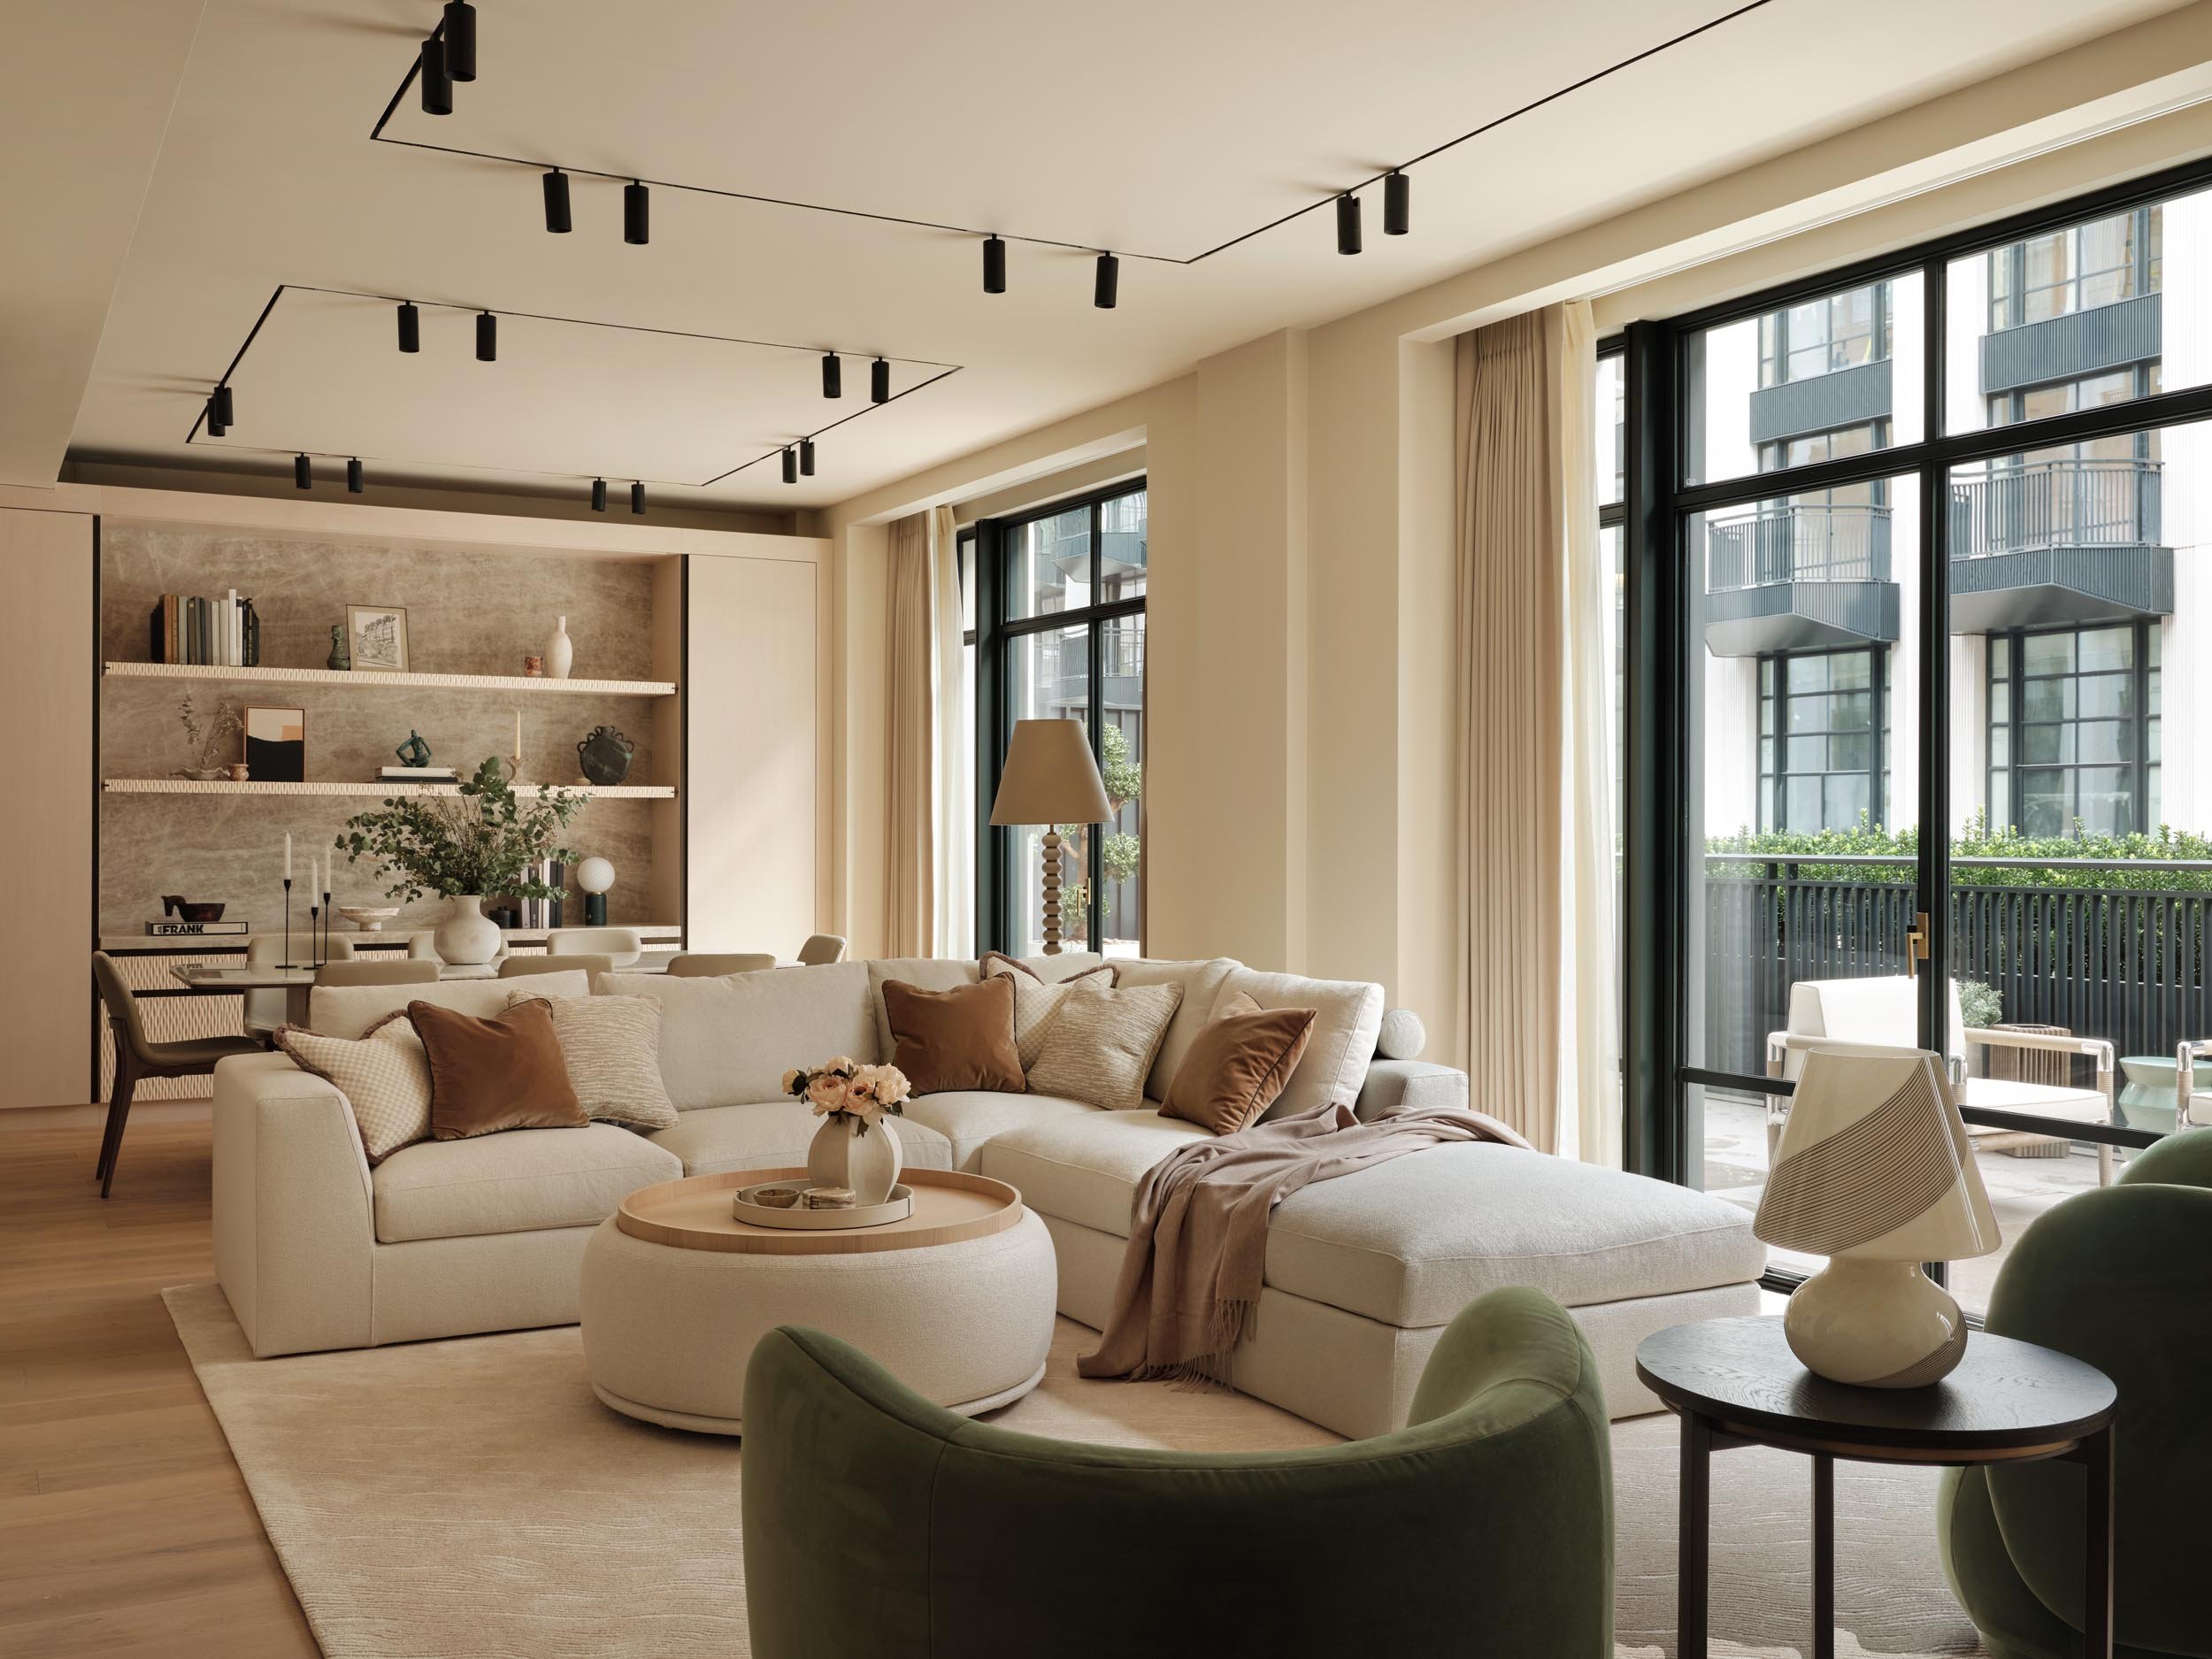
Nestled in the heart of Bayswater, London, The Whiteley redevelopment breathes new life into an iconic landmark. Our recent project, a four-bedroom apartment within this prestigious development, showcases our dedication to detail and craftsmanship. Here, we’ll take you through the meticulous steps involved in transforming this space into a stunning residence ready for its photo shoot. We may ask our client to photograph their new homes not only for their use but also for the inclusion of pictures in our portfolio and to showcase on our website and social media platforms.
Ensuring Seamless Access
Our journey begins with an access check. We ensure that all furniture, fixtures, and equipment (FF&E) can be delivered to the apartment without issue. Thorough measurements are conducted to confirm items will fit into lifts, stairways, and doorways, while potential challenges are identified early. Logistics are coordinated with building management to guarantee smooth entry and movement of materials, tools, and personnel throughout the project timeline.Conducting a Site Condition Report
A comprehensive assessment of the site’s current condition is conducted. This ensures any pre-existing issues are identified, and the workspace is aligned with our project plans.Delivering Wallpaper and Lighting
We coordinate the timely delivery of key design elements, such as wallpaper and lighting fixtures, to ensure materials are on-site when needed. These items are stored securely to prevent damage before installation.Executing Electrical Works
Following the delivery of essential materials, we proceed with executing electrical works. Electrical adjustments and installations are carried out meticulously, ensuring that lighting placements and outlets align perfectly with the design layout, creating a cohesive and functional environment.Painting the Perfect Canvas
With the groundwork laid and electrical works completed, we begin painting. Walls and ceilings are refreshed with colours chosen to complement the overall design, transforming the space into a perfect canvas for the following stages.Installing Custom Joinery
Next, we install custom joinery, including cabinetry and built-in furniture. This step combines form and function, bringing bespoke design elements to life and enhancing the overall layout of the apartment.Adding Stonework to Joinery
Once the joinery is in place, we enhance it further by installing beautiful stone finishes, such as countertops and decorative elements. These luxurious touches elevate the space and complement the custom joinery with added sophistication.Elevating Interiors with Wallpaper
Following the stonework, decorative wallpaper is carefully applied to accent walls or entire rooms, adding texture, color, and personality to the apartment. This enhances the overall atmosphere and ties together the design elements.Perfecting Details Through Snagging
We address any imperfections through a comprehensive snagging process. From touch-ups by our painter to repairs by a "Magic Man," every detail is made flawless.Enhancing with Window Treatments
To complete the aesthetic, we install window treatments such as curtains and blinds. These additions enhance privacy, control light, and contribute to the overall style of the space, creating a balanced, harmonious environment.Adding Outdoor Plants
For apartments with balconies or terraces, we introduce greenery to create inviting outdoor spaces. The placement of outdoor plants provides a natural touch that seamlessly integrates with the overall design, enhancing the living experience.Installing Stair Runners
In this multi-level apartment, we installed an elegant stair runners that adds both comfort and style. This final touch to the staircase design elevates the space while ensuring safety and comfort.Preparing the Space with a Sparkle Clean
Before moving on to the final stages, a deep clean is conducted to ensure the apartment is spotless. This sparkle clean sets the stage for the installation of furniture and accessories.Delivering and Installing FF&E
We then oversee the delivery and installation of all furniture, fixtures, and equipment (FF&E). Each piece is arranged carefully to align with the design plan, ensuring a harmonious and visually appealing layout.Installing Artwork, Mirrors, and TVs
Art pieces and mirrors are strategically installed to enhance the apartment’s aesthetic and functionality. TVs are mounted seamlessly to integrate with the overall design.Setting the Scene with Lighting
We then program the lighting to set the perfect mood and atmosphere for each space. This ensures that the apartment is both functional and ambient, enhancing the overall living experience.Adding Personal Touches with Dressing
As a final step, accessories, cushions, throws, and personal touches like picture frames are added to bring warmth and character to the home, making it uniquely inviting.Capturing the Transformation with a Professional Photoshoot
With the transformation complete, we capture the apartment in its best light through a professional photoshoot. These images showcase the craftsmanship and design expertise that went into the project, highlighting the successful execution of every detail.With a thoughtful and methodical approach, we ensure that every project we undertake delivers a seamless and rewarding experience for our clients, resulting in a high-quality home tailored to their needs. At The Whiteley, this process produced a home that perfectly balances luxury, functionality, and style, showcasing our dedication to creating residential interiors that are both practical and thoughtfully designed.